Personalisation details
For the larger board
For the smaller board
Format: 14th Jun 2015


1
/
of
5
Whaley Woodworks
HDS Workbench Top Fixing Kit
HDS Workbench Top Fixing Kit
Regular price
£3.99 GBP
Regular price
Sale price
£3.99 GBP
Unit price
/
per
Shipping calculated at checkout.
Couldn't load pickup availability
Share
There are several ways to secure your workbench top, depending on how permanent you want the fixing to be:
- Countersink, drill and screw the top down directly
- Install angle brackets underneath and secure from below
- Drill and use the HDS Fixing Kit — allowing you to remove and refit the top whenever you need to
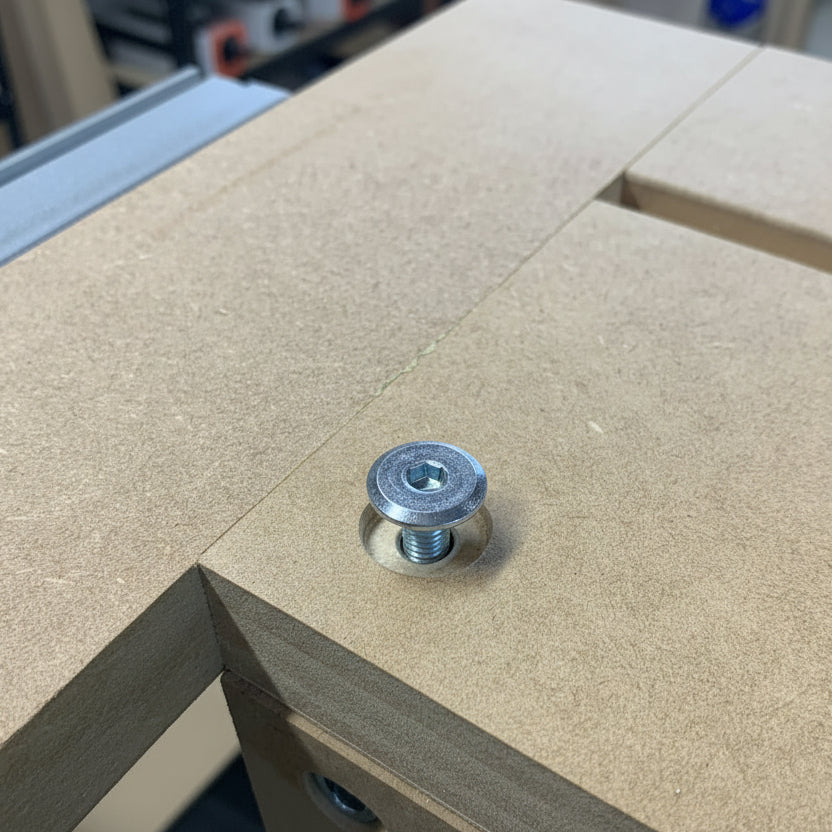
The HDS Fixing Kit has everything you need to securely mount your HDS Workbench Top. Each kit contains 4x threaded inserts and 4x M6 button-top bolts — the simple, solid way to fix your top in exactly the right place.
Two sizes available
- 50mm bolts with 20mm inserts — for thicker benches
- 35mm bolts with 13mm inserts — for thinner benches
How it works
- Drill your bench at the appropriate fixing points
- Install the threaded inserts into the bench
- Secure your HDS Workbench Top with the button-top bolts
A clean, repeatable fixing solution that lets you remove and refit your top whenever you need to. Made in the UK.
Please note: You will require 2x kits if you intend to install a securing bolt in each corner of the two 600mm workbench top boards.
Installation Instructions
- With your HDS workbench top in situ, locate where you require your fixings and mark your top accordingly
- Using a flat bottoms Forstner style bit, drill down approx 2mm so the button top is flush or below the surface of the workbench. (test this by turning the bolt upside down and offering up to the hole).
- Drill through the centre mark (left by the forstner bit) with a 6mm into the workbench below.
- Remove the workbench top
- Continue the 6mm hole in your bench to a depth where the bolt will not bottom out. (approx 30mm for the 50mm bolts and 15mm for the 35mm bolts)
- Using a 8mm bit, open up the 6mm to a depth to either 20mm or 13mm t accept your chosen size of threaded insert.
- Install the inserts - top tip: add a little CA glue to strengthen the joint.
- You're ready to secure your HDS workbench top to your new workbench.
- Do not overtighten your bolts otherwise you risk stripping the inserts.